JUnit Tutorial
Introduction to Junit JUnit Set up JUnit Architecture JUnit Annotations JUnit Fixtures Junit Assertions Junit Categories @Test Annotation Parameters Verification of Exceptions Ignoring tests Time out in JUnit tests Parameterizing tests Test Suite TestWatcher TemporaryFolder ExternalResource Theories in JUnit JUnit Test Runners Execution order of JUnit tests Assumptions in JUnit JUnit and Hamcrest Matchers Running JUnit tests in parallel JUnit and Maven Integration JUnit and Gradle Integration Executing Selenium tests using JUnit test framework Method interceptor and usage JUnit in Intellij IDEA JUnit in EclipseRunning tests in Eclipse in junit
In this post, let us learn how to write and execute JUnit tests in Eclipse. Eclipse provides an excellent support to JUnit tests. Writing and executing JUnit tests is very simple in Eclipse. You need to create a simple maven or gradle project and add JUnit dependency.Adding JUnit dependency
If you are using Maven project, use below dependency in POM file.
<dependency>
<groupId>junit</groupId>
<artifactId>junit</artifactId>
<version>4.12</version>
<scope>test</scope>
</dependency>
apply plugin: 'java'
dependencies {
testCompile 'junit:junit:4.12'
}
Writing JUnit Tests
We have already seen how to write simple JUnit tests. Executing JUnit Tests in Eclipse We can execute JUnit tests in Eclipse by right clicking on a test class and then selecting Run as JUnit option as shown in below image.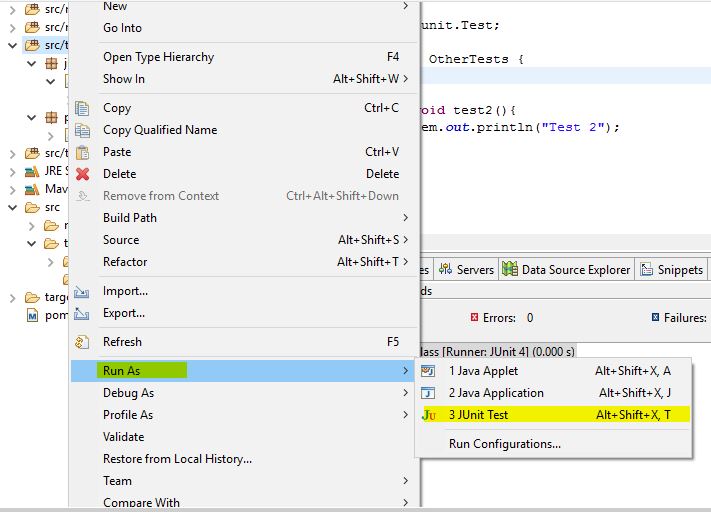 You can also use Alt+Shift+X, T shortcut key to run current JUnit test. To run Junit tests in specific package, you can right click on that package and click on Run as Junit Test. Similarly to run all tests in all packages, you can right click on Java directory and click on Run all tests as JUnit Test.
Viewing the JUnit test reports in Eclipse
After running the JUnit tests, JUnit runner creates a simple xml report. Below images show how to view JUnit report generated by JUnit runner in Eclipse.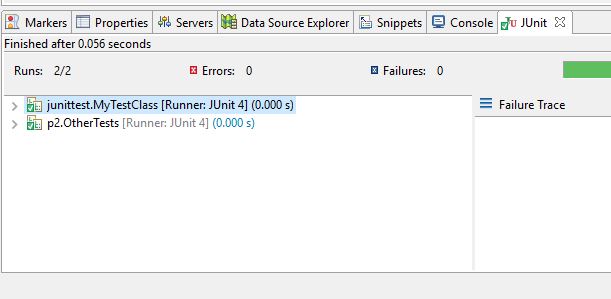 If you are using a maven project, you can also execute JUnit tests using maven commands.
Web development and Automation testing
solutions delivered!!